How To Get Started Self Filming Your Bow Hunts
You hear it all the time. Guys claim that self filming hunts is extremely difficult and in certain situations they’re 100% correct. However, there are many mistakes hunters make that make self filming more difficult than it needs to be. Avoiding these mistakes can save you a lot of frustration and make self filming much easier.
Why Self Film?
Unless you’re a major hunting personality you probably can’t afford a cameraman for every night of the week from Mid September through November. Your buddy may initially seem willing to film on occasion but you’ll quickly learn that schedules don’t often align and by our very nature, a hunter wants to hunt, not sacrifice his evening to film you. For many of us, self filming is simply the only real way to ensure you capture your hunts on film.
Setup is Everything.
There will be guys that complain that their camera arm get in the way of shots. When set up properly, this rarely happens. Let’s try a little exercise. Pretend you’re in a tree. You’re standing with your bow in hand and release clipped on. It’s go time. If you’re right handed, your bow is in your left hand and vice versa. Come to imaginary full draw. As a right handed shooter you can cover a wide variety of angles to your left but shooting across your body to the right quickly gets very awkward. I call this hard to shoot area a self filmer’s “blind spot”. You almost have to turn and face the tree completely in order to pull this off, making it the perfect spot to place a camera arm.
Simply put,
A right handed shooter should have the camera at hip height on his/her right.
A left handed shooter should have the camera at hip height on his/her left
Why hip height? Hip height is low enough that you can still shoot over it if need be and any frantic full draw adjustments can be made by “Hip checking” the camera arm into position.
Know your Camera.
The main resource that is limited because of self filming it’s time. You are trying to hunt and get the camera on the animal. That being the case you need to know the ins and outs of your camera. If running in manual mode you need to be extremely familiar with zooming, adjusting exposure and white balance, and focusing on the fly. Getting to know your camera is best done during the preseason. Spend some September afternoons filming velvet bucks in low light. Get to know your camera better than you know your bow! If looking for some help in camera knowledge, the guys at Film the Hunt are a great resource.
Have the Right Gear.
Self filmers carry more gear. It’s unavoidable. You’re going to need a camera arm for smooth, solid footage, especially at the shot. You’re going to want more batteries, POV cameras, audio gear, and more. At the end of the day you’re trying to do the job of two, but you’re one guy. You have to seriously analyze what you’re willing to bring out with you. Packability becomes paramount, especially if you’re a mobile hunter. If you hunt the same property often and have established stands in place putting bases in every tree before season opens is a great idea. It eliminates noise and allows for quicker, consistant setups. Check out some great camera arm options here.
Have a Backup Plan.
Things will go wrong. It’s inevitable. One October afternoon I had a full battery and was bowhunting from the ground when a target buck stepped out 120 yards away. He was feeding with some does with no intention of moving. I opted to belly crawl through a small ditch to get to him before last light. I snuck into forty yards, set up the tripod, turned on the camera only to discover that it had somehow turned on during my crawl and exhausted my only battery. I had to pass that buck, but believe me, I would have paid a large sum of money to have an extra battery with me that afternoon. Don’t be like me. Bring extra quick release plates, batteries, and SD cards.
Zoom Out.
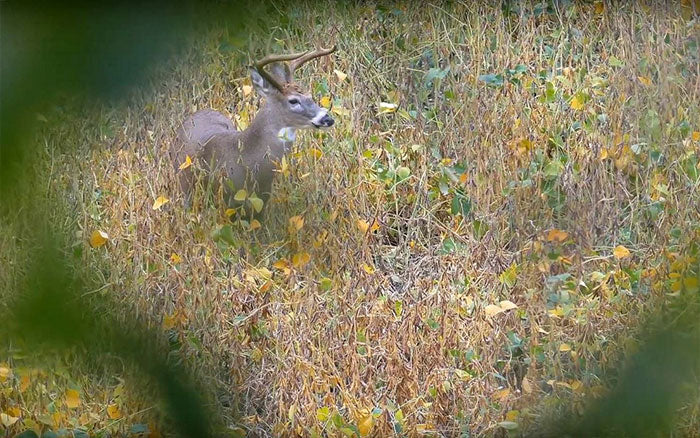
When bowhunting the deer are generally within thirty yards, meaning your target can pretty easily move out of the frame between letting go of the camera and releasing an arrow. Don’t be afraid to “lead” that deer a little bit or zoom out altogether so that you have a little cushion where that deer can move without walking out of the frame.
Have some other tips? Be sure to add some to the comments!
Best of luck to all you solo hunters in the field! Be sure to keep it fun and tag Fourth Arrow in your videos and photos!